Ultrasound measurement
Before beginning an ultrasound measurement, ensure that you have placed a thin layer of gold foil over the exposed face of the buffer rod before lowering the breech. Additionally, ensure that you have inserted the transmitting rod into the hole on the breech, as shown below.
INSERT IMAGE HERE
To acquire and view the ultrasonic waveforms, a GUI porgram called SonicPy is provided on the beamline control computer. SonicPy allows to automatically record ultrasound ultrasound waveforms from the oscilloscope with varying exitation wave frequencies.
Before beginning, create a folder named US in your data folder where the ultrasound data will be saved to.
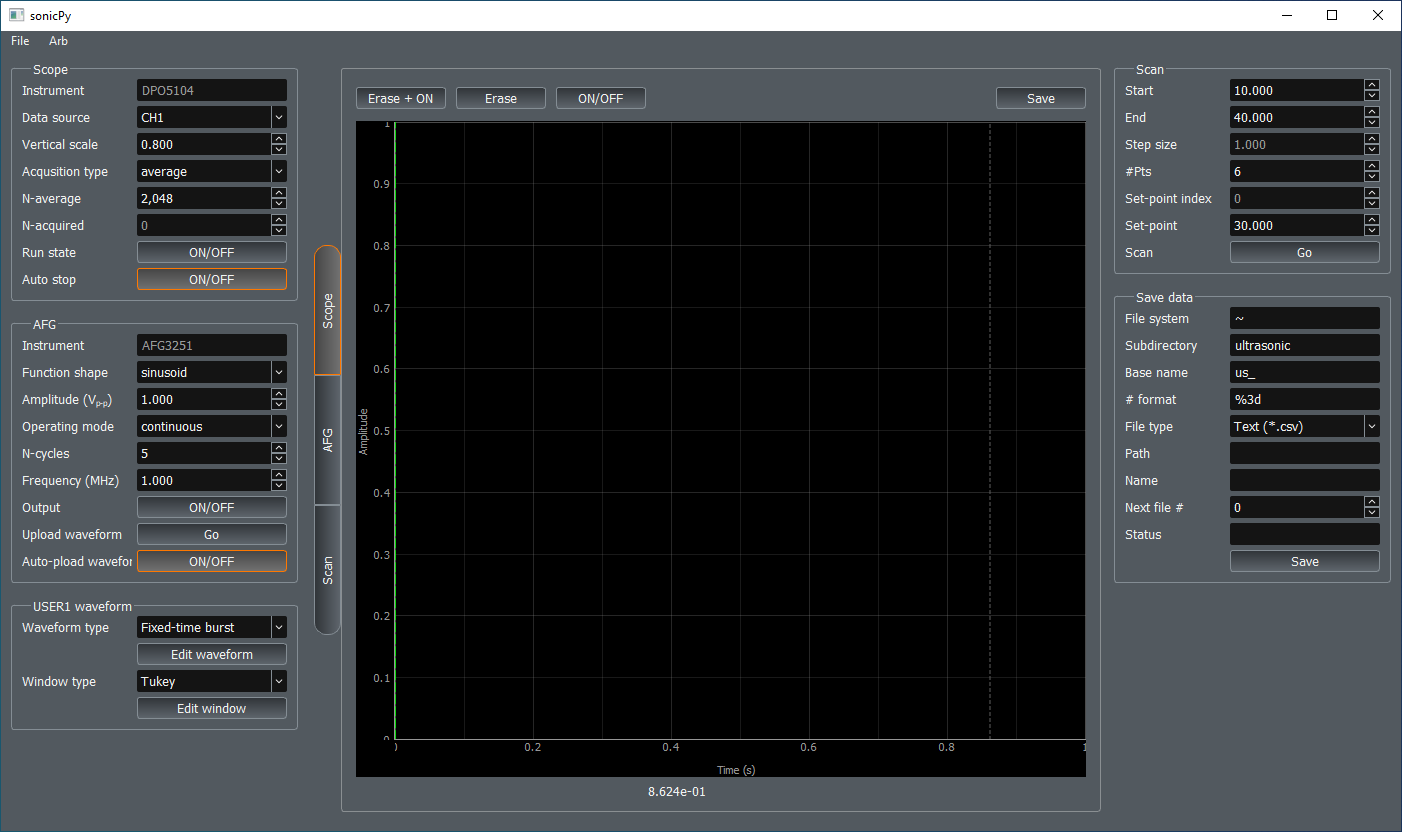
Open sonicPy by running the ultrasound measurement shortcut of the desktop.
Important
Check that the Scope-Instrument is DPO5104 and AFG-Instrument is AFG3251. If something else is displayed it means that the program could not communicate with the hardware. Check that the oscilloscope and the function generator are both powered on.
Check and update if needed the following settings values:
To check the ultrasound signal level, clear the scope and acquire a new ultrasound waveform by clicking Erase + ON above the waveform plot.
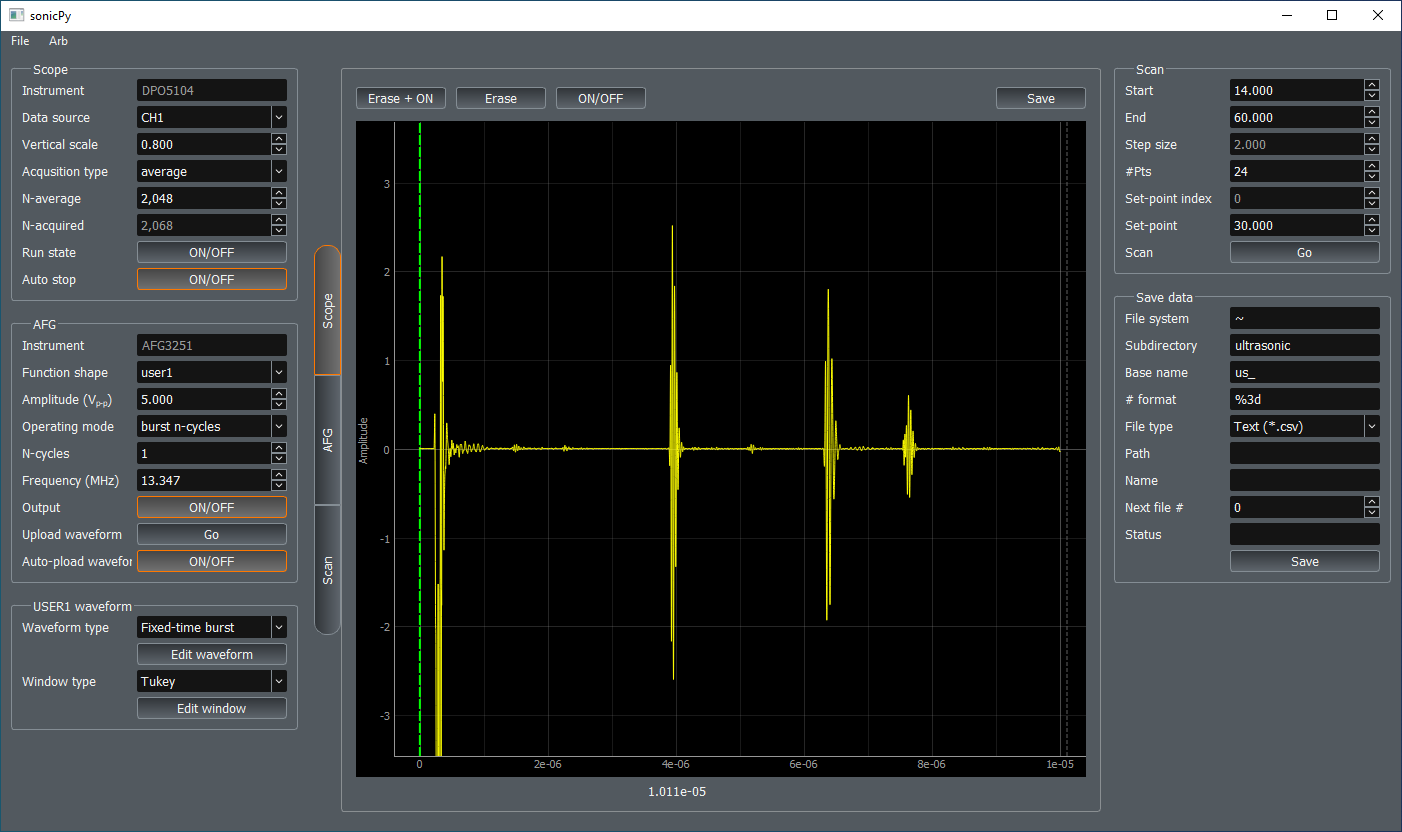
Note
Scope Vertical scale may need to be adjusted depending on the signal level to avoid saturation and to optimize the oscilloscope’s dynamic range relative to the signal level.
Set up the file system and directory fields to save your data. Create a folder on the beamline computer to save your ultrasound data for the current sample, navigate to inside that folder, then copy the entire path from the file explorer and paste it into the ‘File system’ field on the sonicPy interface. The ‘subdirectory’ field of the gui should, ideally, be populated with a name that reflects the PT condition at which you are collecting ultrasound data. Once you run the frequency scan, sonicPy will create the subdirectory in the folder specified by ‘File system’ and will write the files there. Finally, choose a simple base name to which the software will append file numbers corresponding to the frequencies used in the scan.
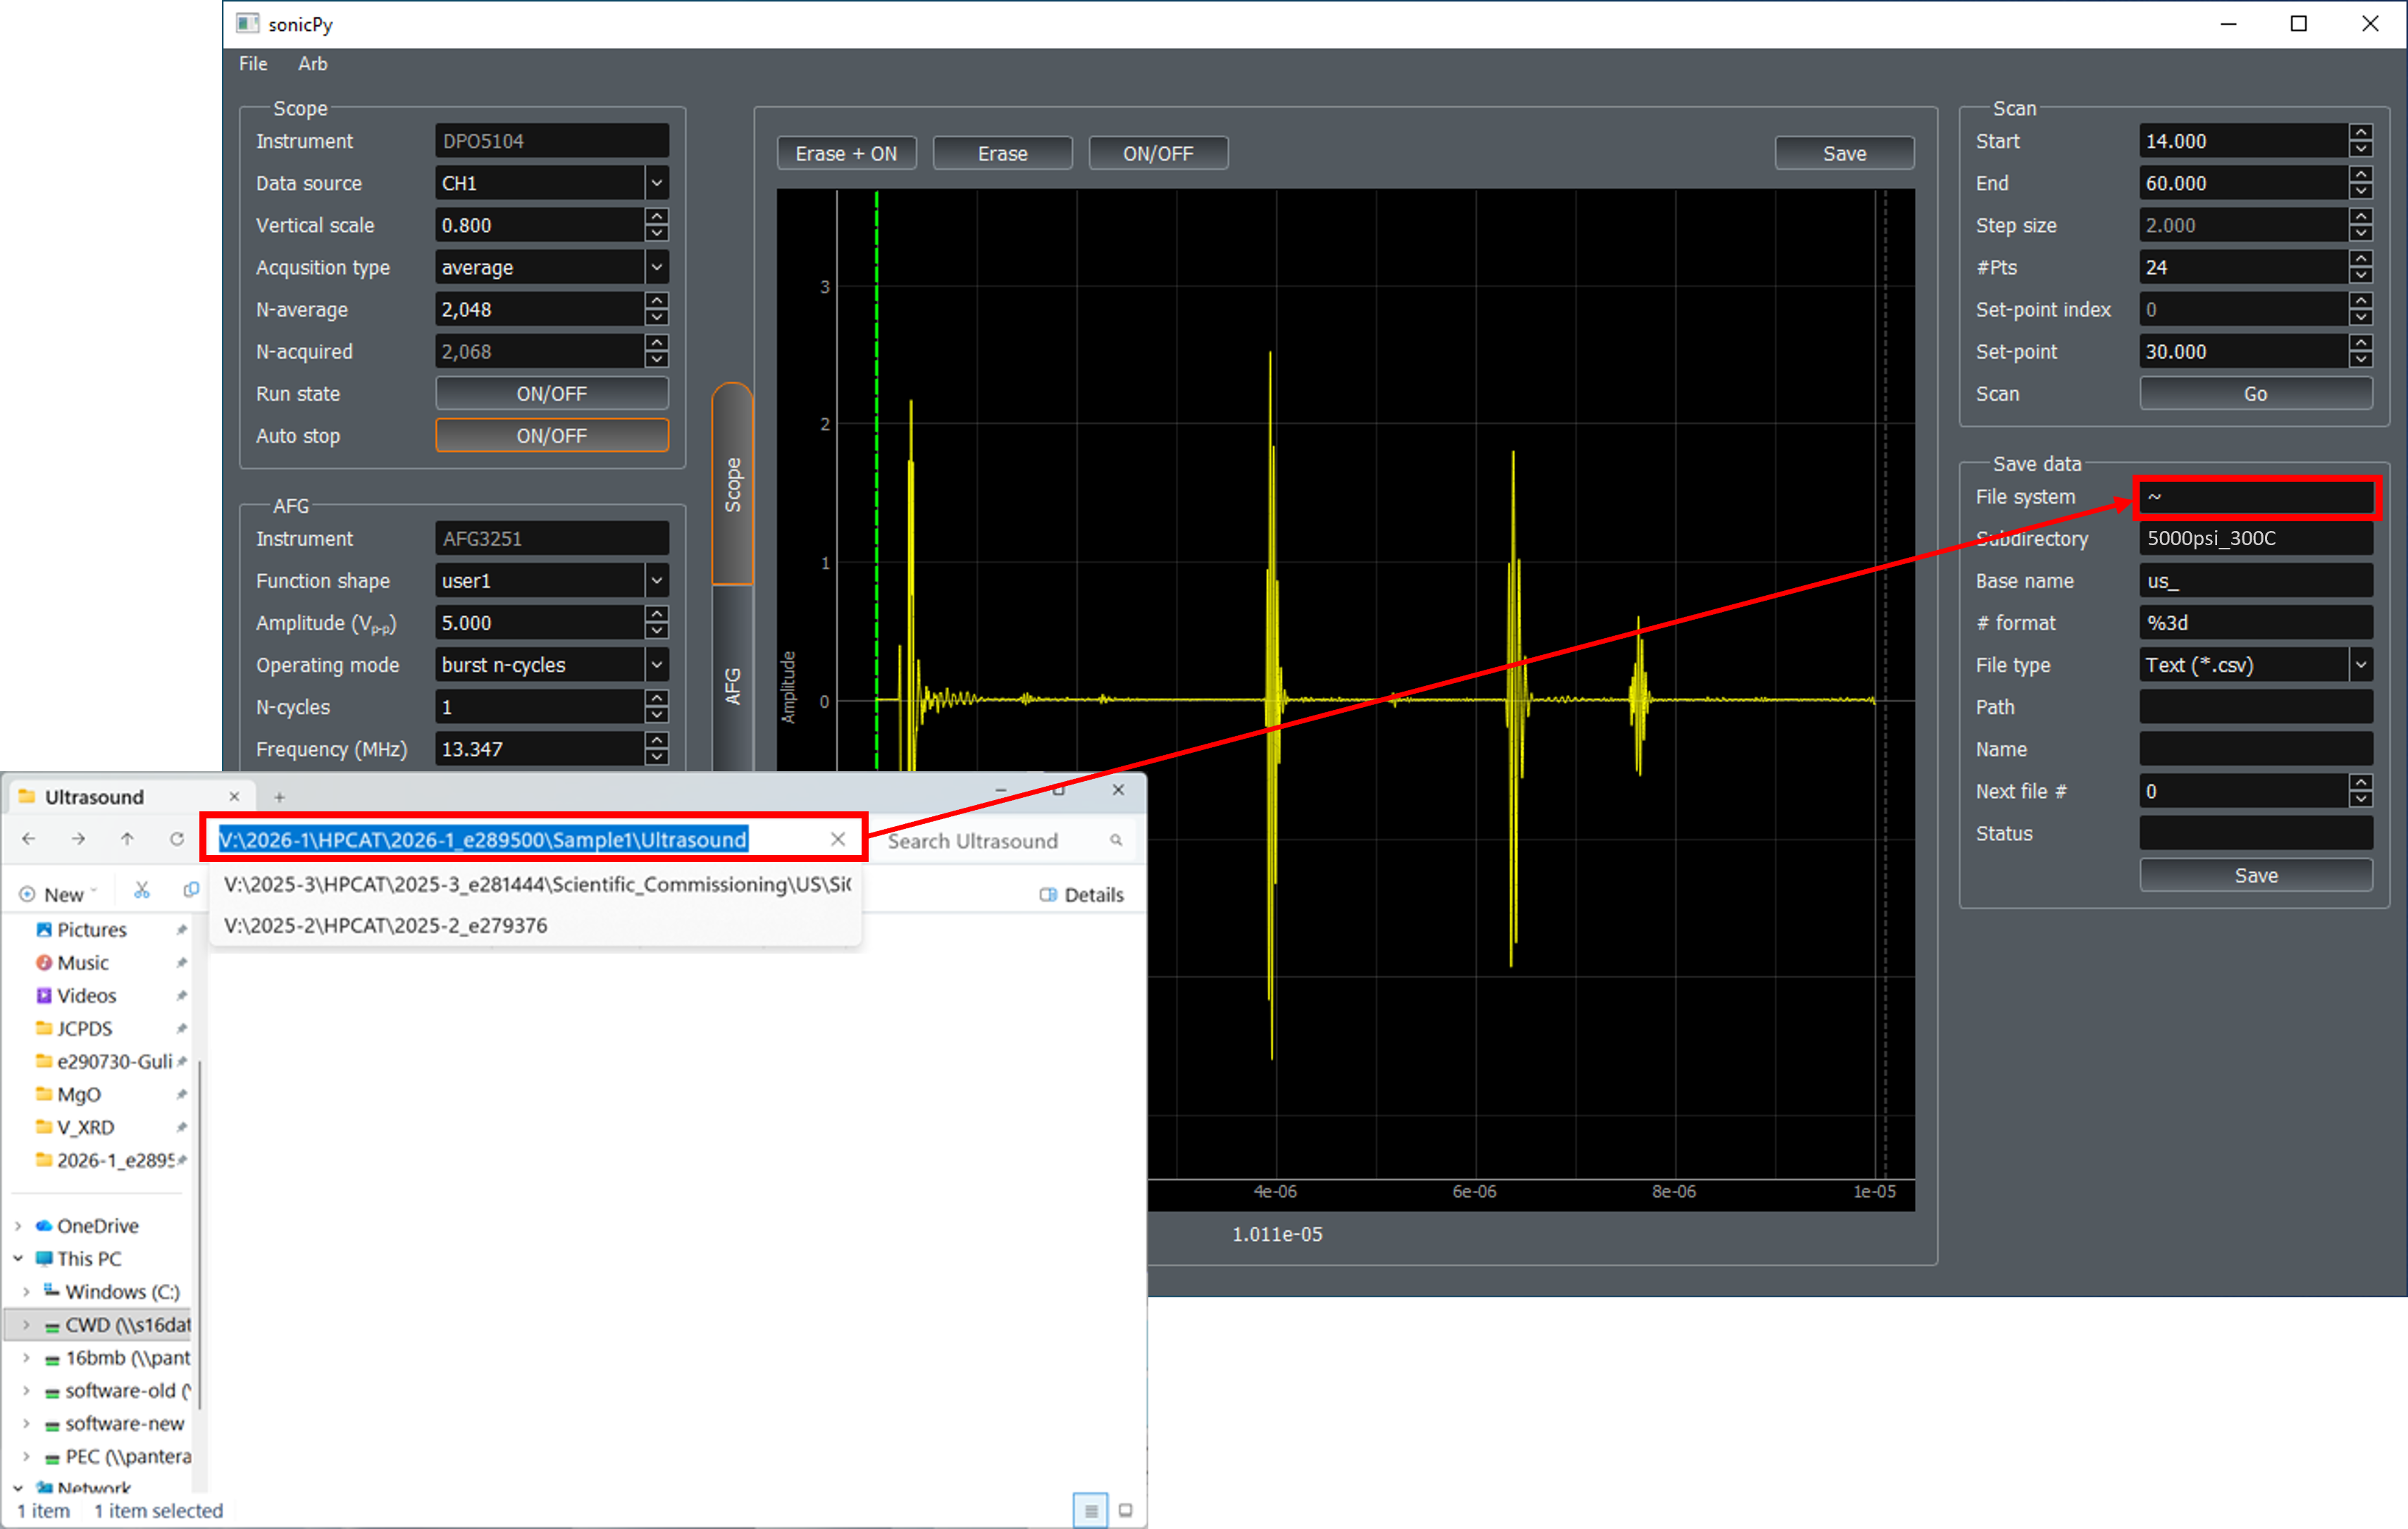
Set the ‘Next file #’ zero, if needed; and click Go in the Scan panel. The the frequency sweep will start and conclude on its own. To interrupt the scan mid-way click Go again.
Important
Remember to reset Next file # back to 0 before each scan.